最近在做 side project 的時後在煩惱登入應該怎麼處理比較方便,剛好 side project 是和遊戲相關的,於是決定來研究一下 Discord OAuth 的 API 要怎麼用。
創立 Discord Application
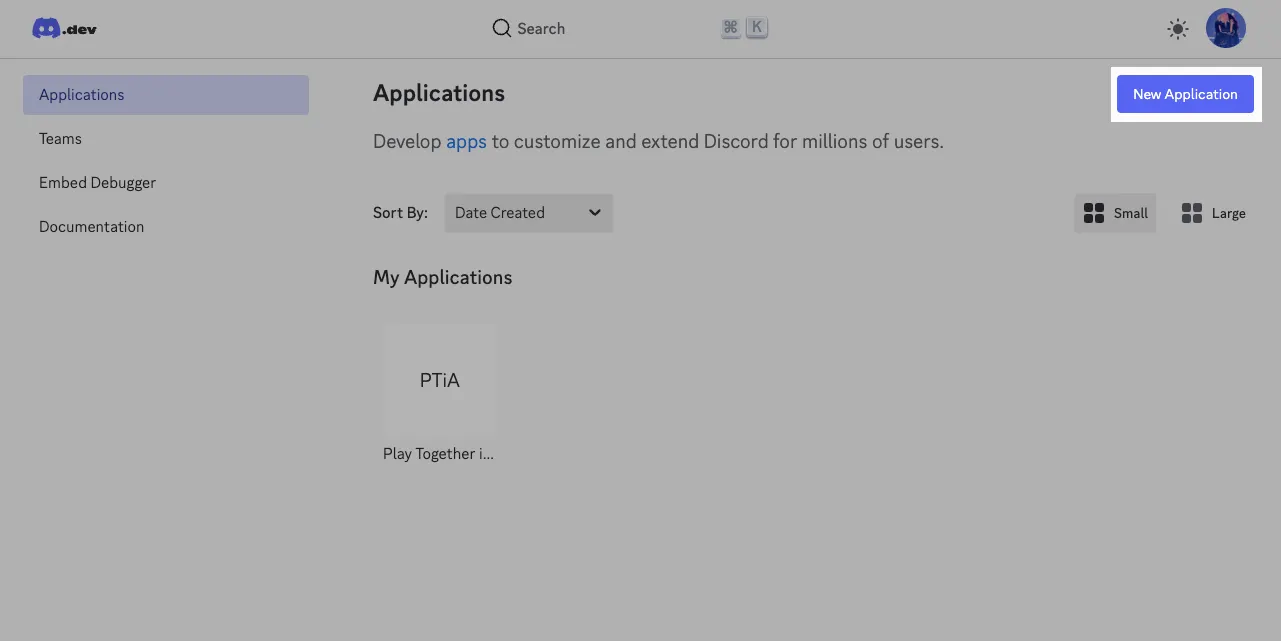
首先進入到 Discord Developer Portal 的畫面,點擊 New Application 並輸入名字。
接著點選剛剛建立好的 application 後會進入下面的畫面,從左邊的選單列點擊 OAuth 2 的選項後,找到 Client Information 的內容:
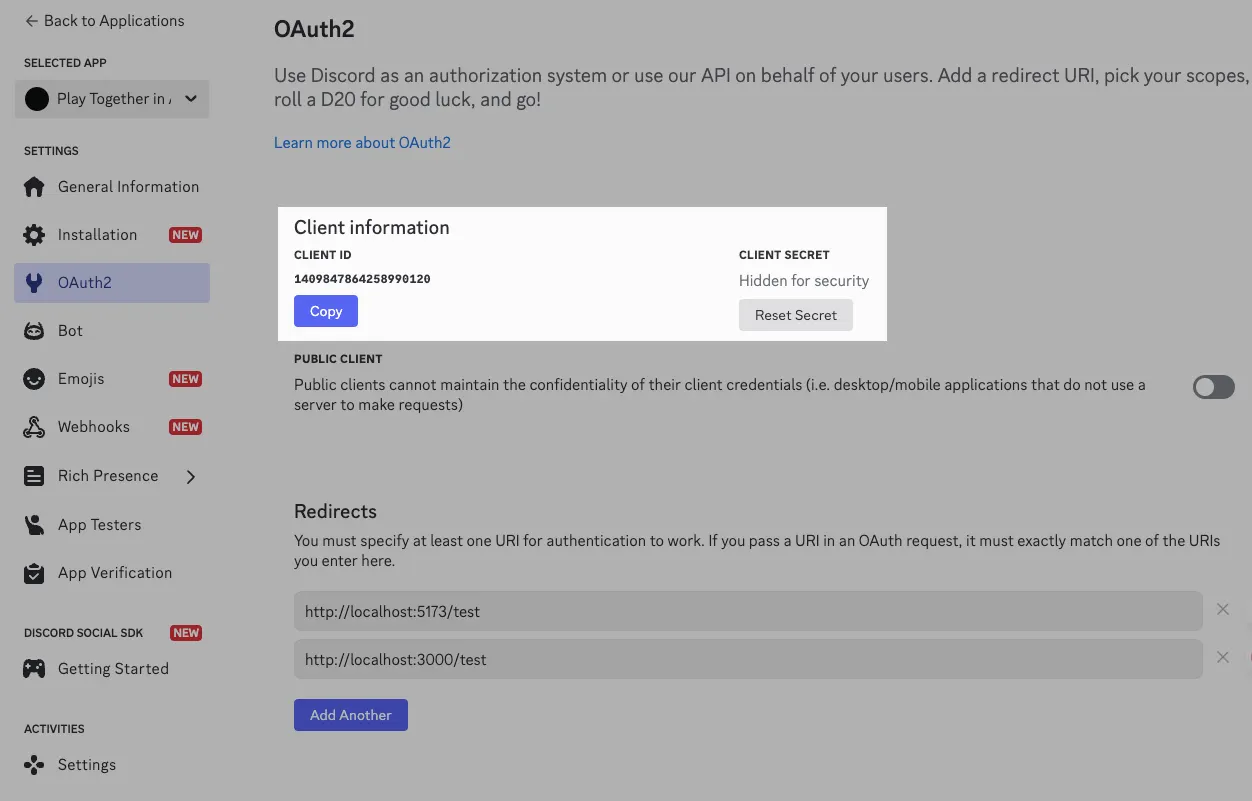
Client ID 和 Client Secret 都是等等我們的程式碼會需要用到的值,可以的話先記下來。之後再回到這個頁面的話會看到和圖片上一樣,Client Secret 會被 Discord 貼心的藏起來。
如果真的忘記的話按下 Reset Secret 就可以取得一組新的 secret 了。
呼叫 Discord API
登入的流程主要是這樣的:
- 呼叫
https://discord.com/api/oauth2/authorize 打開 Discord 取得授權的頁面(攜帶 redirect 的網址) - User 按下授權後根據剛剛的 redirect 網址由 Discord 做轉導,並且在網址上會攜帶一個參數 code
- 帶著 code 在轉導的頁面中呼叫
https://discord.com/api/oauth2/token 取得 Bearer token - 拿到 Bearer token 之後就可以使用 Discord API 的其他服務了
首先,先建立一個 index.html 並放入下面的程式碼:
 1
 2
 3
 4
 5
 6
 7
 8
 9
10
11
12
13
14
15
16
17
18
19
20
| <div class="section" id="loginSection">
<h2>Discord OAuth 登入</h2>
<p>設定完成後,點擊下方按鈕開始 Discord OAuth 流程:</p>
<button id="loginBtn" onclick="startDiscordLogin()">使用 Discord 登入</button>
<div id="loginStatus"></div>
</div>
<script>
startLogin() {
// 建立 Discord 授權 URL
const discordAuthUrl = new URL("https://discord.com/api/oauth2/authorize");
discordAuthUrl.searchParams.set("client_id", this.config.clientId);
discordAuthUrl.searchParams.set("redirect_uri", this.config.redirectUri);
discordAuthUrl.searchParams.set("response_type", "code");
discordAuthUrl.searchParams.set("scope", "identify email");
// 重定向到 Discord
window.location.href = discordAuthUrl.toString();
}
</script>
|
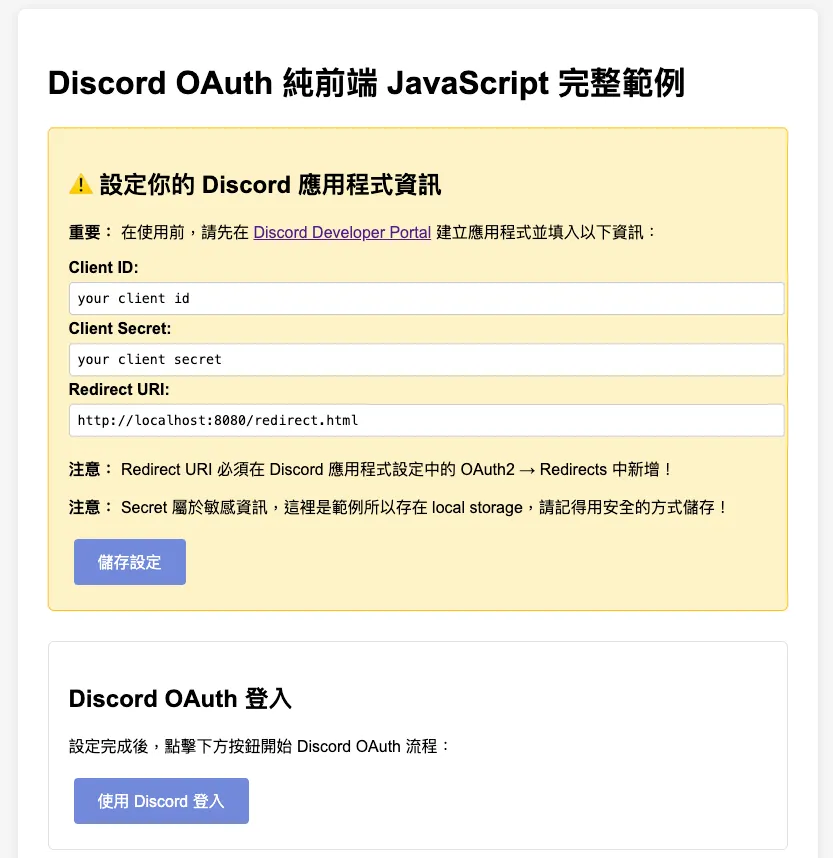
接著準備好轉導頁面 redirect.html 的內容:
 1
 2
 3
 4
 5
 6
 7
 8
 9
10
11
12
13
14
15
16
17
18
19
20
21
22
23
24
25
26
27
28
29
30
31
32
33
34
35
36
37
38
39
40
41
42
43
44
45
46
47
48
49
50
51
52
53
54
55
56
57
58
59
60
61
62
63
64
65
66
67
68
69
70
71
72
73
74
75
76
77
78
79
80
81
82
83
84
85
86
87
88
89
90
91
92
93
94
95
96
97
98
| <!-- 授權結果區域 -->
<div class="section" id="authResult">
<h2>授權結果</h2>
<div id="loginStatus"></div>
</div>
<!-- 取得用戶資訊 -->
<div class="section" id="tokenSection">
<button id="tokenBtn" onclick="getTokenAndUserInfo()">取得 token</button>
<div id="tokenResult"></div>
</div>
<!-- 用戶資訊區域 -->
<div class="section" id="userSection">
<h2>用戶資訊</h2>
<div id="userInfo"></div>
<button onclick="logout()">登出</button>
</div>
<script>
init() {
// 檢查 URL 中是否有授權碼
const urlParams = new URLSearchParams(window.location.search);
const code = urlParams.get("code");
const error = urlParams.get("error");
if (error) {
this.showError("授權被拒絕:" + error);
} else if (code) {
this.showAuthCode(code);
}
}
showAuthCode(code) {
const statusDiv = document.getElementById("loginStatus");
statusDiv.innerHTML = `
<div class="success">
<p><strong>授權成功!</strong></p>
<p>授權碼:<code>${code}</code></p>
<p><strong>注意:</strong> 由於純前端無法安全處理 Client Secret,需要後端 API 來完成 Token 交換。</p>
<p>實作時請將此授權碼傳送給後端 <code>/api/auth/discord/callback</code> API。</p>
</div>
`;
// 清理 URL
window.history.replaceState({}, document.title, window.location.pathname);
}
async handleDiscordCallback() {
const config = {
clientId: localStorage.getItem("discord_client_id") || "",
clientSecret: localStorage.getItem("discord_client_secret") || "",
redirectUri: localStorage.getItem("discord_redirect_uri"),
};
const urlParams = new URLSearchParams(window.location.search);
const code = urlParams.get("code");
// 用授權碼交換 access token
const tokenResponse = await fetch("https://discord.com/api/oauth2/token", {
method: "POST",
headers: {
"Content-Type": "application/x-www-form-urlencoded",
},
body: new URLSearchParams({
client_id: config.clientId,
client_secret: config.clientSecret,
grant_type: "authorization_code",
code: code,
redirect_uri: config.redirectUri,
scope: "identify email",
}),
});
const tokenData = await tokenResponse.json();
// 取得用戶資訊
const userResponse = await fetch("https://discord.com/api/users/@me", {
headers: {
Authorization: `Bearer ${tokenData.access_token}`,
},
});
const userData = await userResponse.json();
const userSectionDiv = document.getElementById("userInfo");
userSectionDiv.innerHTML = `
<div class="success">
<p><strong>取得資訊成功!</strong></p>
<p>User ID <code>${userData.id}</code></p>
<p>User Display Name is ${userData.global_name}</p>
<p>User Account is ${userData.username}</p>
</div>
`;
}
init();
</script>
|
接著到 Discord Developer Portal 裡面的 OAuth2 中 Redirects 的地方新增我們要轉導的頁面:

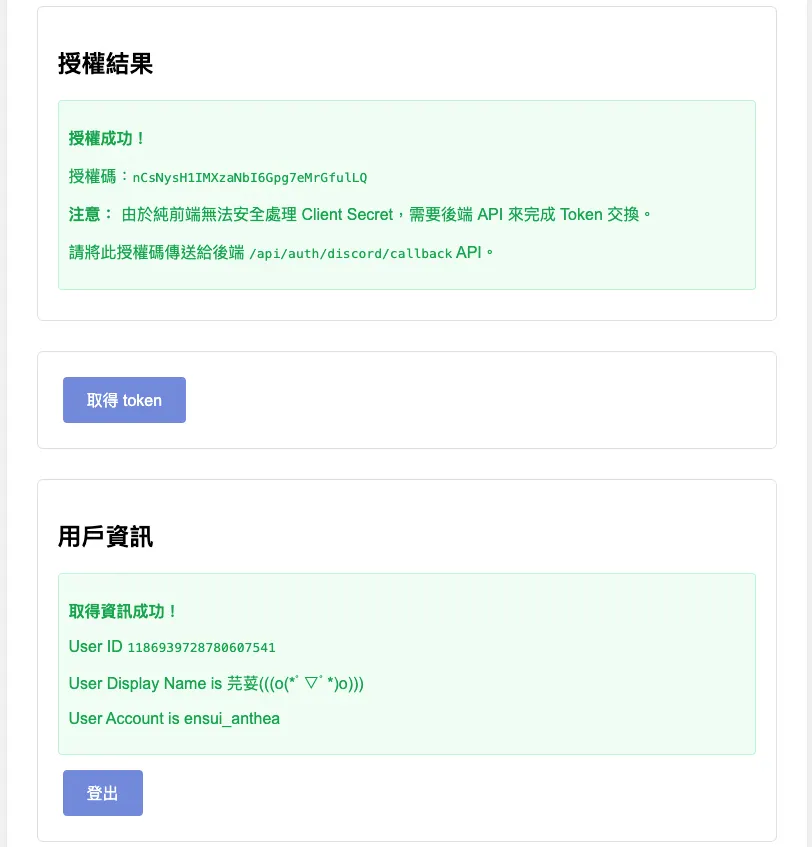
設定完成後透過 index.html 點擊登入,按下授權後就可以看到下面的畫面囉!
完整的程式碼我會放在我的 GitHub 中,以上就是今天的分享,我們下次見 👋